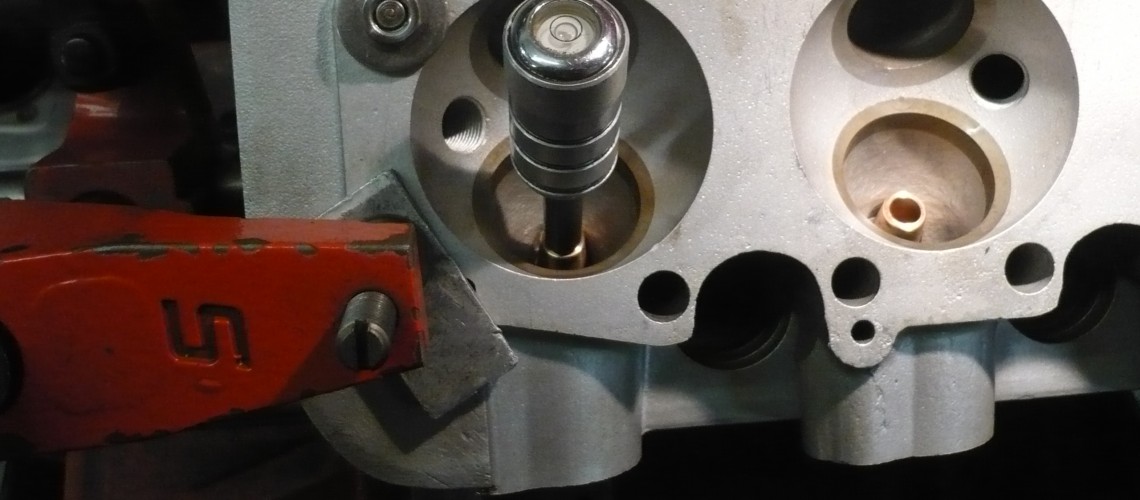
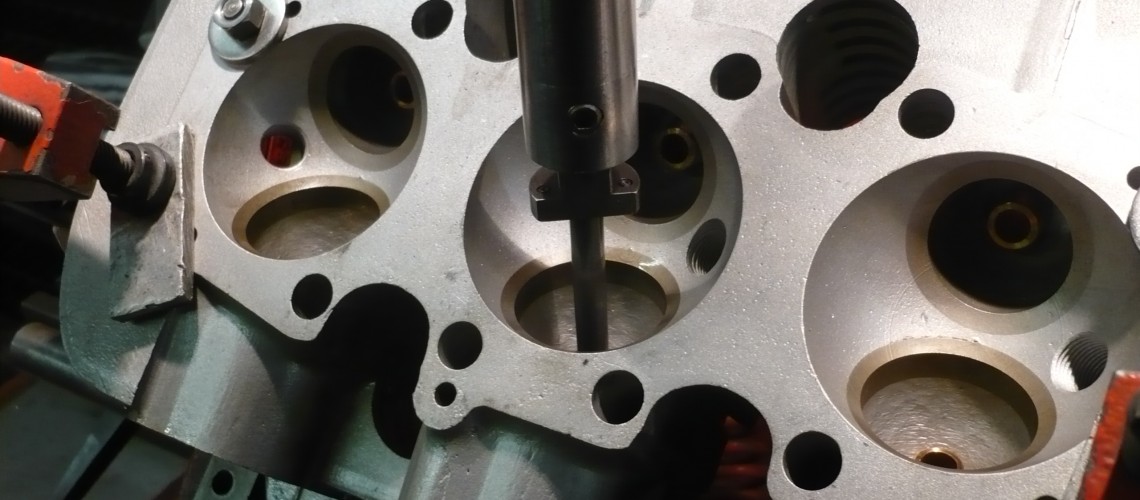
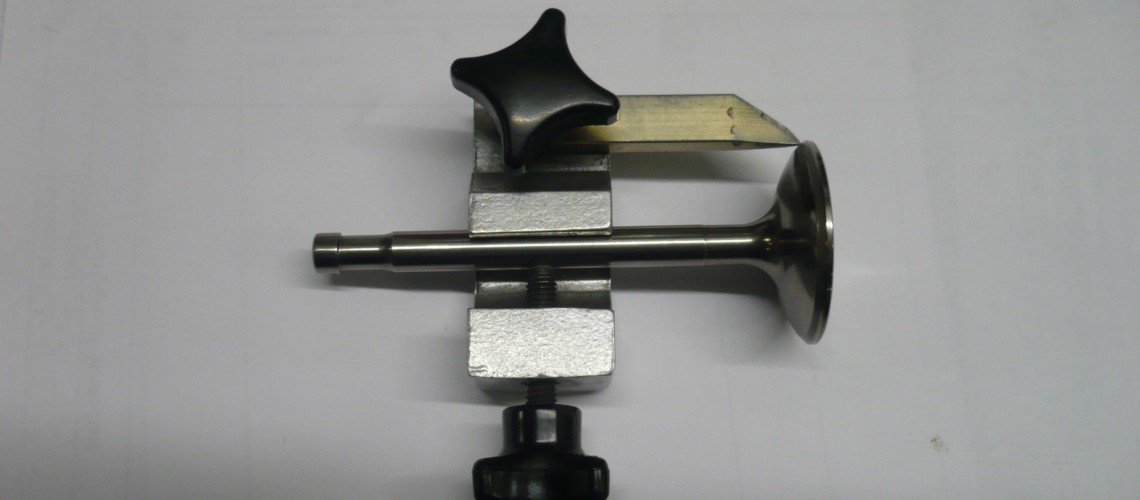
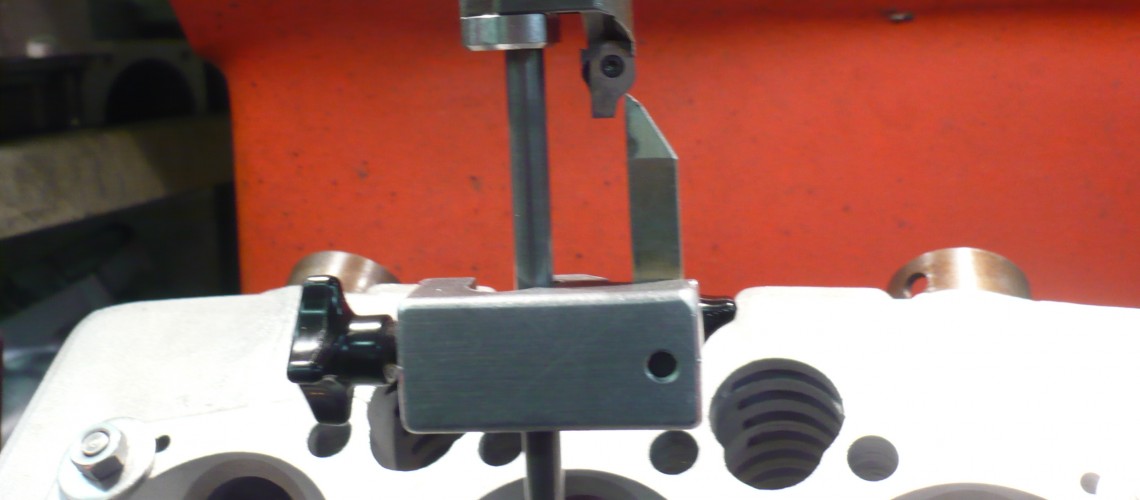
Valve guide replacement seems simple enough, until it is performed correctly, then it gets a bit more complicated;
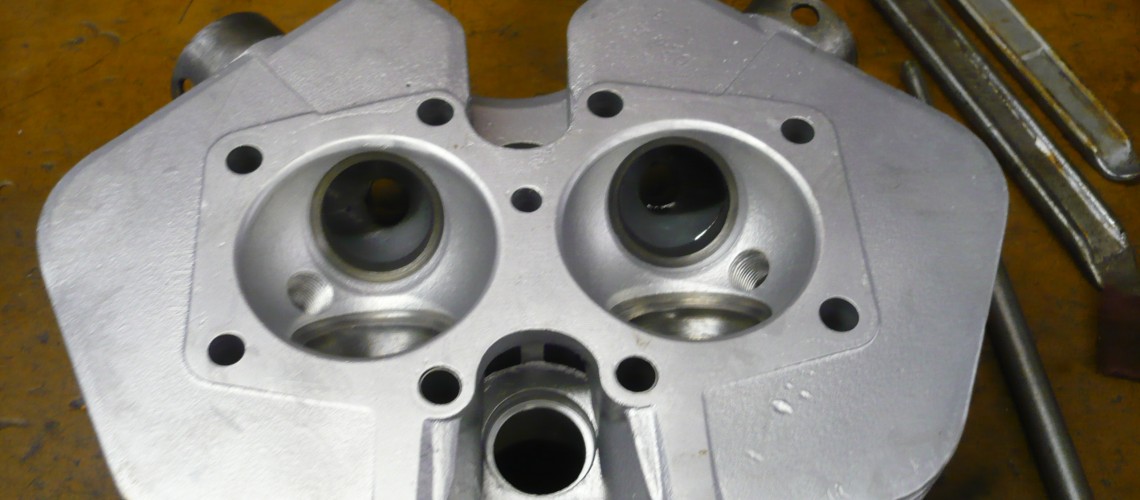
Step 1 ; Thoroughly decarbonise combustion chamber, ports and valve guide. Many valve guides can only be pressed out from the port end so any carbon residue still attached to the guide will tear and damage the guide hole in the cylinder head.
Step 2 ; De-burr guide hole and correct any taper or out of round. The guide is an interference fit in the head and requires an accurate hole to fit into. Blindly bashing replacement standard size guides into stretched or worn holes is an unacceptable practice which we come across a surprising amount.
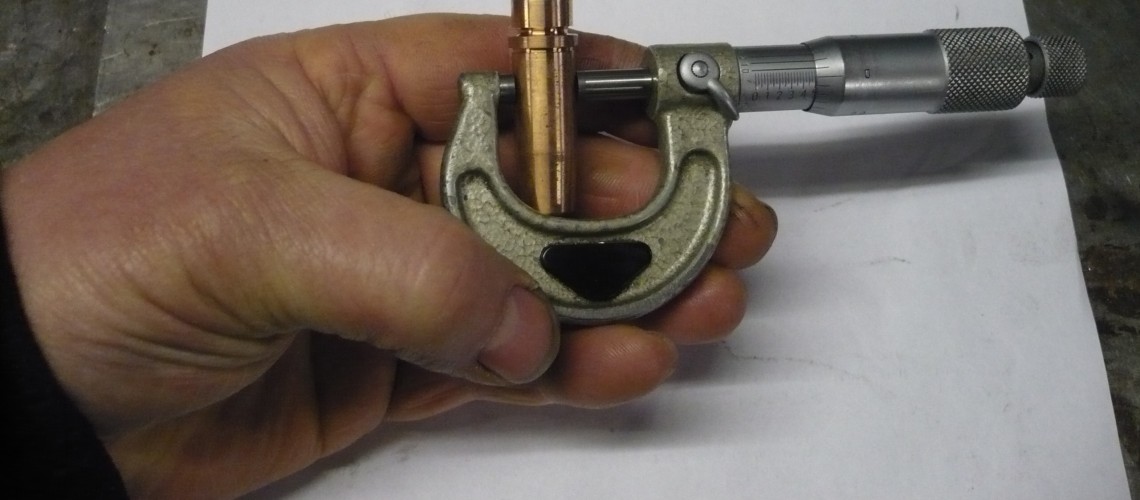
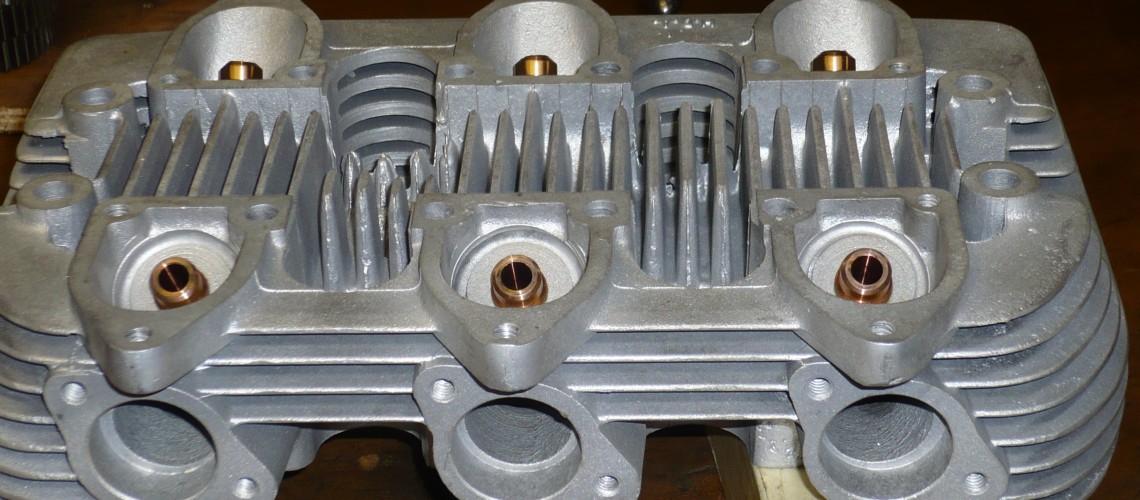
Step 3 ; Machine a valve guide on it’s outside diameter to the correct interference fit for the style of cylinder head being repaired & press into place.
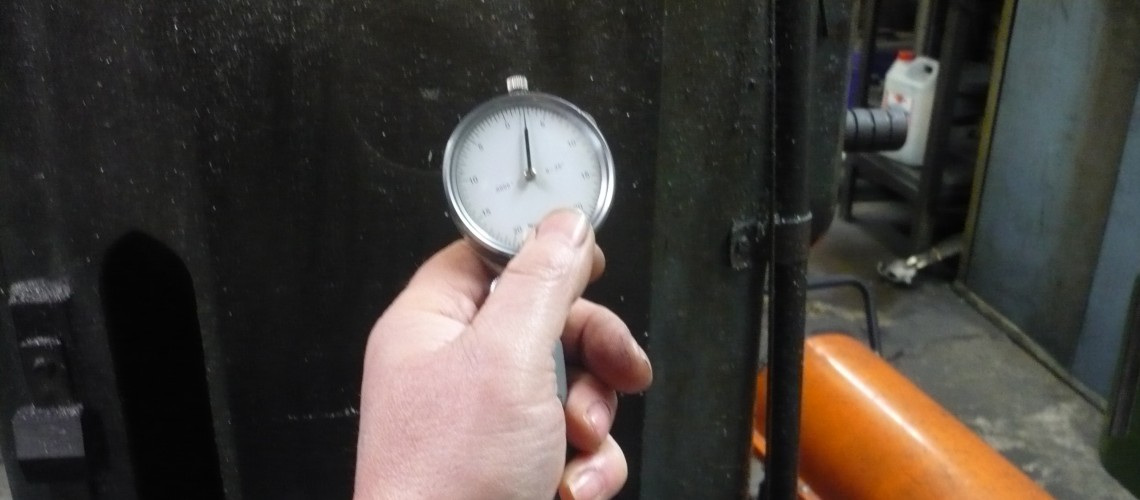
Step 4 ; Hone the valve guide bore to be parallel and round and to give the correct clearance on the valve stem.
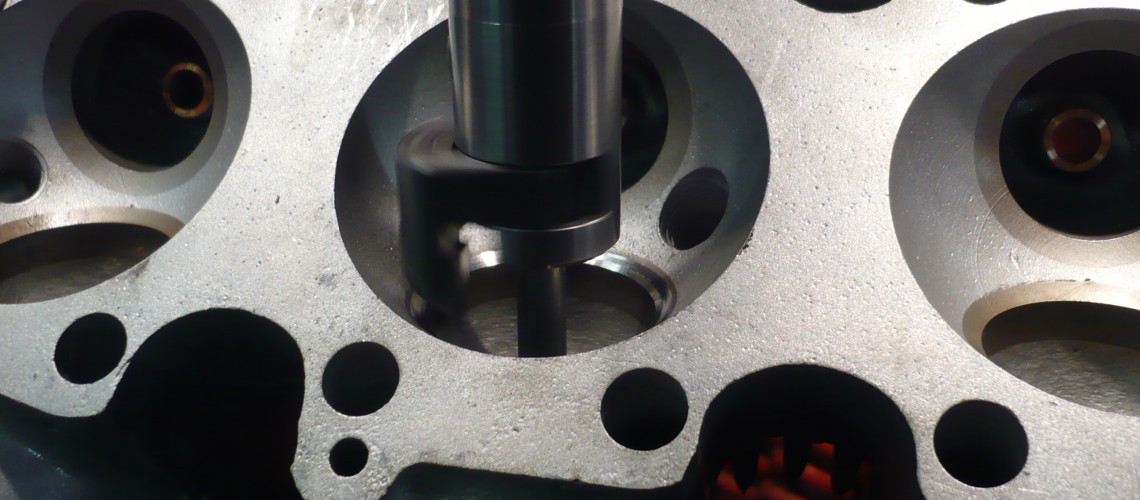
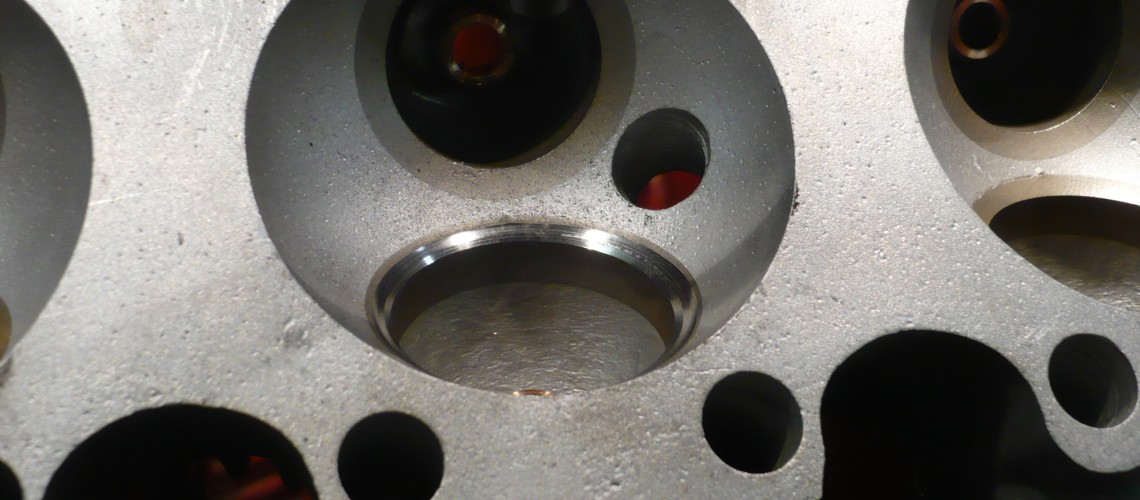
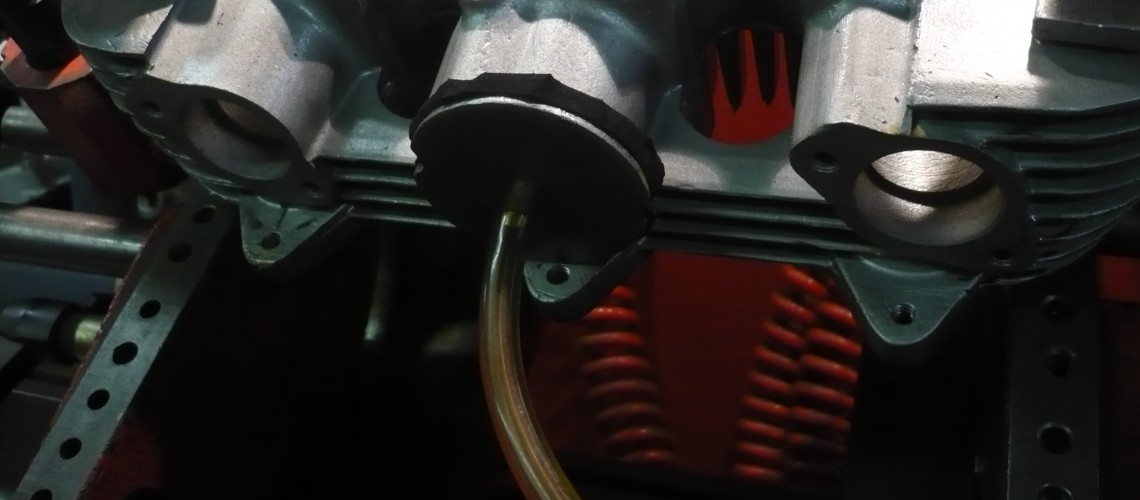
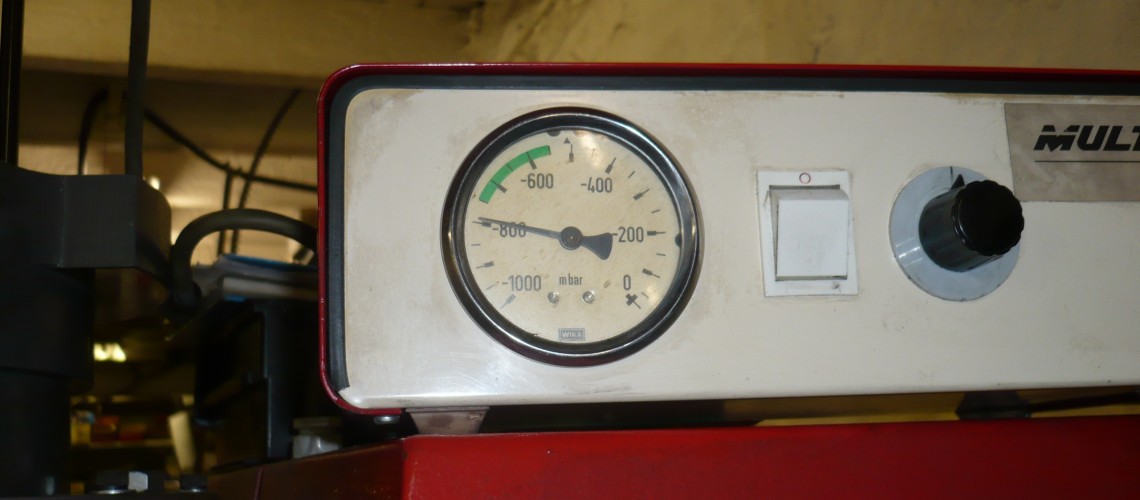
Step 5 ; Re-cut valve seat to give the correct throat angle, seat angle and width and top angle. Keep the recut seat concentric with the centreline of the guide. Clean and check the position of the seat on the valve face and vacuum test the seal between valve and seat.

